


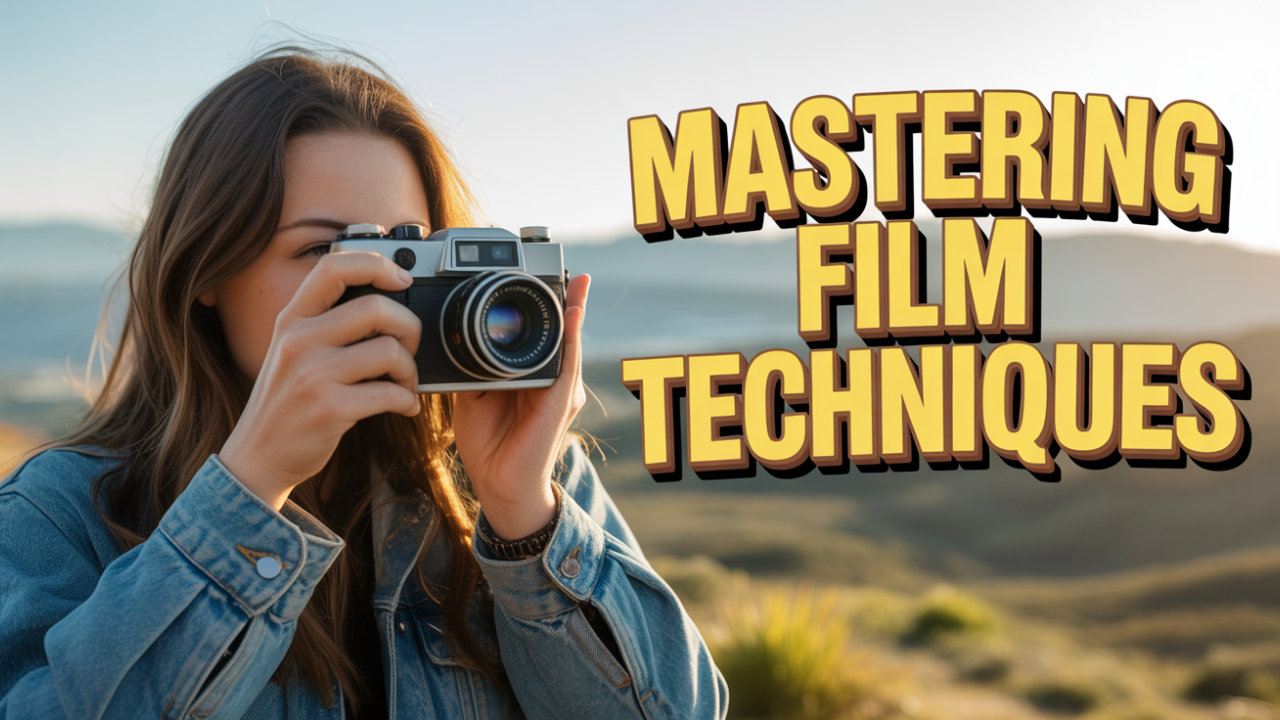
What is film photography explained? In this in-depth article, Geonline covers everything from beginner guide to film photography to how film is developed step by step. Whether you’ve only ever shot digitally or you’re just curious, you’ll learn how to use a film camera, understand exposure, pick the right film, avoid common mistakes, and more.
By the end, you’ll not only know what film photography is, but also feel confident to try it yourself.
What Is Film Photography Explained (in Simple Terms)
Film photography is the process of capturing images using a light-sensitive film strip (or sheet) instead of a digital sensor. When the camera’s shutter opens, light hits the film, creating a latent (invisible) image. Later, the film is processed using chemicals to turn that into a visible negative or positive print.
Unlike digital photos, these images are physical and unique. The aesthetic, grain, dynamic range, and character all depend on the film stock, camera, exposure choices, and processing method.
Why pick film nowadays? Many choose it for its tactile feel, the slower pace, the “mistakes you can’t immediately fix,” and the artistic qualities that often feel more analog, organic, and unpredictable.
Beginner Guide to Film Photography
For someone just starting, film photography can feel mysterious and even intimidating. But with the right mindset and guidance, it’s immensely satisfying. This beginner guide to film photography is designed to give you the foundational knowledge and the confidence to experiment.
Key principles to adopt early:
Think deliberately: with limited shots per roll, be more intentional.
Log your settings: write down ISO, shutter, aperture, and lighting for each frame so you learn.
Expect failures: developing film will expose your mistakes — that’s part of learning.
Practice consistently: repeat rolls, evaluate them, and build intuition.
When I (in my own experience through Geonline) switched from digital to film, those first few rolls were rough. But reviewing them, analyzing what went wrong, and trying again taught me more than any tutorial. Over time, film made me a more disciplined, patient, and observant photographer.
Types of Film Cameras and Their Uses
Knowing camera types helps you pick one that matches your shooting style.
Each type has its strengths. As a beginner, an SLR or point-and-shoot will usually be the most forgiving and accessible. Over time, many photographers collect several types to use depending on mood or subject.
How to Use a Film Camera for Beginners
Here’s a step-by-step on how to use a film camera for beginners (especially for 35mm SLRs):
Set your ISO / ASA on the camera to match the film.
Open the back panel, usually by pulling a latch or lever.
Insert the film canister on the supply side.
Pull the film leader across to the take-up spool.
Lock it in (into the spool slot) and ensure tension.
Advance the film and shoot blank frames until the frame counter → “1”.
Compose and focus, then dial shutter and aperture for proper exposure.
Press the shutter.
Advance again, repeat until roll ends.
Rewind the film (manually or automatically) before opening back.
Difference Between Film and Digital Photography
Understanding the contrast between film and digital helps you appreciate their strengths and limitations.
Key Differences:
Light sensitivity / ISO
In digital, ISO is adjustable per shot.
In film, ISO is fixed by the film stock; you “set the meter” once.
Dynamic range / exposure latitude
Film (especially negative film) often handles highlights and shadows gracefully.
Digital may clip highlights more aggressively.
Feedback loop
Digital gives instant review and correction.
Film forces you to wait and learn from results.
Character / aesthetics
Film has grain, tone, color rendering specific to stock and process.
Digital produces cleaner, sharper results but may feel more sterile.
Workflow & cost
Film requires buying rolls, developing, scanning or printing.
Digital is cost-per-camera upfront, with almost no per-shot cost.
Film photography encourages patience, focus, and introspection. Many digital shooters return to it to slow down and deepen their understanding of light and exposure.
Best 35mm Film for Beginners
Not all films are equal for a beginner. You want something forgiving, versatile, and not too expensive.
Here are good choices:
Kodak Portra 400 – excellent color rendering and flexibility (can be “pushed” or “pulled”)
Kodak Gold 200 or 400 – affordable and solid color everyday film
Ilford HP5 Plus 400 – classic black & white, easy to develop at home
Kodak Tri-X 400 – iconic B&W film with classic grain
Fujifilm Superia / Fujicolor – vibrant, good everyday film
These films let you experiment without overspending. With negative films, slight under- or overexposure often can be corrected in scanning or printing, which is helpful for learning.
How to Load Film into a Camera
We touched briefly earlier, but here’s a more detailed step-by-step:
Pull up the rewind knob or latch to open the camera back.
Place the film canister in the chamber, aligning its spool pin with a corresponding slot.
Pull the film leader (the narrow trimmed strip) across into the take-up spool slot.
Insert the leader into the slot or teeth on the spool.
Gently wind the advance lever to make sure film engages properly.
Close the back and lock it.
Advance and fire blank frames until counter is at frame 1.
Check tension — when you lightly pull the rewind knob, there should be some resistance (indicating film is loaded correctly).
If you see slack or backlash, reload and check alignment.
Understanding ISO, Aperture, and Shutter Speed in Film Cameras
Film cameras still use the exposure triangle: ISO, aperture, and shutter speed. But with film, ISO is fixed per roll. You manipulate the other two to control exposure and creative effect.
ISO (ASA)
It is the film’s sensitivity.
Common values: 100, 200, 400, 800, 1600, etc.
Higher ISO = more light sensitivity, but more grain.
Once you load a film (say ISO 400), set your camera to 400 and that stays until you change film.
Aperture (f-stop)
Controls lens opening size.
Lower numbers (e.g. f/1.8, f/2.8) = wide open = more light, shallower depth of field.
Higher numbers (e.g. f/16, f/22) = narrower opening = more depth of field, less light.
Use aperture for controlling depth of field (how much is in focus front-to-back).
Shutter Speed
How long the shutter stays open (e.g. 1/1000, 1/250, 1/30, 1s).
Higher speeds freeze motion; slower speeds let in more light but risk blur.
Rule of thumb for handholding: use a shutter speed at least 1 / (focal length). E.g. with 50 mm lens, use 1/60 or faster.
You adjust aperture and shutter to balance exposure. The meter in the camera (or your external meter) tells you where you are relative to proper exposure.
Film Photography Camera Settings Guide
When starting out, here’s a settings guide you can keep in mind:
For sunny outdoors (ISO 100/200) → f/16 at 1/ISO (Sunny 16 rule) Wikipedia
Portraits → aperture around f/2.8–f/5.6, shutter 1/125–1/250
Landscape → f/8 to f/16, shutter 1/60 or slower (with tripod)
Low light → open aperture (low f number), slow shutter, or higher ISO film
Motion blur or light trails → use slow shutter speeds (1/15, 1s, etc.)
If your camera has a built-in light meter, try to make the needle sit in the middle. If it leans, adjust aperture or shutter until the meter reads optimal.
Keep a cheat sheet or logbook. For every frame, note ISO, aperture, shutter, light condition. When you get negatives back, compare settings vs outcome. Over time, that builds instinct.
How Film Is Developed Step by Step
One of film photography’s magical parts is development. Here’s a simplified step-by-step:
Prepare chemicals (developer, stop bath, fixer) in trays or tanks.
In complete darkness or using a changing bag, load the exposed film onto a developing reel and insert into the developing tank.
Pour in the developer and agitate periodically for a specific time (e.g. 7–10 min).
Pour out the developer, then pour in stop bath (to halt development) for ~30 seconds.
Pour in fixer to stabilize the image; leave as directed (5–10 min).
Wash film thoroughly with water to remove residual chemicals.
Hang to dry in a dust-free area.
Once dry, you have a negative strip (for color negative or B&W).
To get prints, you can scan negatives or use an enlarger / darkroom printing process.
If printing in a darkroom, you expose photo paper using an enlarger, then process in developer, stop, fixer baths, and wash. Black-and-white film is easiest to start with because chemicals are simpler and forgiving.
Film Photography Lighting Techniques
Good lighting is even more critical in film because you have fewer chances to adjust. Some techniques:
Natural Light: Use golden hour (early morning, late afternoon) for softer light.
Side Lighting: Adds texture and depth (shadows and highlights).
Backlighting / silhouettes: Can be dramatic. Be careful with exposure.
Fill Light / Reflector: Bounce light into shadow areas to soften contrast.
Flash / Strobes: Use with sync speed (often ~1/60–1/125).
Mixed lighting: Combine ambient + flash wisely, mind color temperature.
Low light / night: Use wide aperture, slow shutter, tripod, and push film if possible.
Try always to observe light direction, hardness vs softness, and how it interacts with your subject.
How to Shoot Black and White Film
Black-and-white film has enduring appeal for its simplicity and mood. Here’s how to approach it:
Choose a forgiving B&W film (e.g. Ilford HP5, Kodak Tri-X).
Meter for midtones or shadows (underexpose slightly rather than overexpose).
Use filters (yellow, red, orange) to darken skies or enhance contrast.
Develop consciously: control time and agitation for contrast.
Print or scan negatives in high bit-depth to retain detail.
In my own teaching at Geonline, black-and-white film made me more attentive to texture, contrast, and composition — because everything is reduced to tones and form.
Mistakes to Avoid in Film Photography
Beginners often repeat similar errors. Avoiding these helps accelerate growth:
Wasting frames by shooting randomly — think before you shoot.
Incorrect loading — leaving slack or misalignment.
Ignoring meter — not adjusting aperture/shutter properly.
Overexposing film repeatedly — can blow highlights unrecoverably.
Shake / blur from slow shutter without tripod.
Not logging settings — you lose learning feedback.
Poor development technique (temperature, timing, contamination).
Opening the back too early after shot or on rewind — destroying film.
Inconsistent scanning / printing — loses negative detail.
Comparing too much to digital — appreciate film’s strengths and quirks.
Frequently Asked (People Also Ask)
Q: What is film photography explained simply?
A: Film photography is capturing images on a light-sensitive film strip, then developing it chemically into negatives or prints.
Q: How do I use a film camera for beginners?
A: Load film, set ISO, focus, choose aperture/shutter for exposure, shoot, advance, and rewind.
Q: Which types of film cameras exist and when to use them?
A: SLR, rangefinder, point-and-shoot, TLR, medium format, large format — each suited to different styles (portability, control, detail).
Q: What is the difference between film and digital photography?
A: Film uses fixed ISO and chemical process; digital uses sensors and immediate feedback. Film has unique aesthetics and slower workflow.
Q: What is the best 35mm film for beginners?
A: Kodak Portra 400, Ilford HP5, Kodak Gold are among the most forgiving and versatile for newcomers.
Q: How to load film into a camera?
A: Place canister, insert film leader into take-up spool, advance to frame 1, and lock back.
Q: How is film developed step by step?
A: Load film in darkness, develop, stop bath, fixer, wash, dry — then scan or print the negatives.
15. Final Thoughts
In exploring what is film photography explained, Geonline has walked you through the full panorama — from camera types, exposure fundamentals, and loading mechanics to film development, light techniques, and pitfalls to avoid.
In my own experience, film photography felt like a rediscovery of rhythm, patience, and attentiveness. The surprise of the reveal (once the film is developed) is something digital rarely gives. Yet alongside its romance, it demands discipline, precision, and thoughtful choices.
Leave a Comment