


 Introduction: Why Softbox Lighting Changes Everything
Lighting can make or break a photograph. Many beginners invest in expensive cameras and lenses but forget one essential truth: photography is painting with light. Without the right lighting, even the best camera will deliver dull or harsh results.
That’s where the softbox comes in. It’s one of the most trusted tools in a photographer’s kit. Whether shooting portraits, products, or YouTube videos, knowing how to use a softbox gives images that professional, natural look.
This guide on use a softbox for perfect lighting in photography will walk you through:
What a softbox is and why it matters.
The science of soft, diffused light.
Step-by-step setup and placement tips.
Different softbox sizes and when to use them.
Real-world examples for portrait, product, and studio shoots.
Pro tips from years of experience.
By the end, you’ll have everything you need to create stunning, evenly lit photos—without unnecessary gear or complicated jargon.
What is a Softbox and Why Do Photographers Love It?
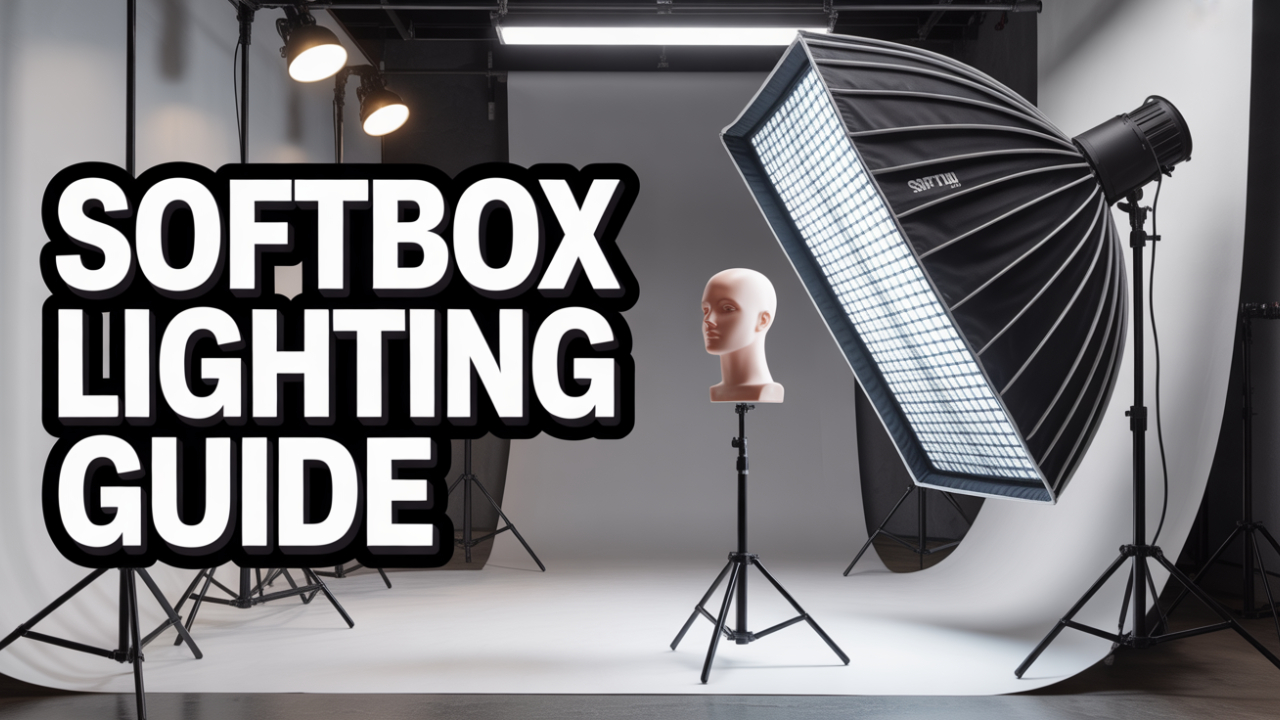
A softbox is a lighting modifier that attaches to a light source. It spreads and diffuses the light, transforming a harsh beam into a soft, natural glow.
Think of sunlight on a cloudy day—that’s the effect a softbox creates indoors.
Key Benefits of a Softbox:
Soft shadows that flatter the subject.
Even illumination with no harsh hotspots.
Natural look that mimics window light.
Control over direction, unlike umbrellas that scatter light.
Professional photographers love softboxes because they can control both quality and direction of light with precision.
How to Use a Softbox for Perfect Lighting in Photography (Step by Step)
Step 1: Choose the Right Size Softbox
Small softboxes (16–24 inches): Best for tight spaces or product photography.
Medium softboxes (24–36 inches): Perfect balance for portraits and general use.
Large softboxes (36–60+ inches): Ideal for full-body portraits or fashion shoots.
???? Rule of thumb: The larger the softbox, the softer the light.
Step 2: Positioning the Softbox
Light direction creates mood. Here are common setups:
45-Degree Angle (Classic Portrait Look):
Place the softbox 45° to the subject.
Creates flattering shadows and depth.
Rembrandt Lighting:
Angle the softbox slightly higher, so one side of the face has a small triangle of light under the eye.
Adds drama and sophistication.
Flat Lighting (Beauty & Fashion):
Place the softbox directly in front.
Softens skin and reduces blemishes.
Overhead Lighting (Product/Flat Lay):
Place above the subject for shadow-free product shots.
Step 3: Distance Matters
The closer the softbox is to your subject, the softer the light.
Close = Soft, Wraparound Light
Far = Harder Shadows, More Contrast
For portraits, keep the softbox about 2–4 feet away from your subject.
Step 4: Control the Power
Adjust the light intensity depending on the mood:
Low power: Soft, natural portraits.
High power: Dramatic effects and sharper shadows.
Pro Tip: Always balance the light with your camera settings (ISO, aperture, shutter speed).
Different Types of Softboxes (And When to Use Them)
1. Rectangular Softbox
Mimics window light.
Best for lifestyle portraits and product photography.
2. Octagonal Softbox (Octabox)
Produces round catchlights in the eyes.
Great for beauty, fashion, and close-up portraits.
3. Strip Softbox
Narrow and long.
Perfect for edge lighting or highlighting hair.
4. Parabolic Softbox
Deep shape creates directional light.
Used in high-end fashion shoots.
Real-World Examples of Using Softboxes
Portrait Photography
A medium octabox placed at a 45° angle gives portraits a cinematic feel. Skin looks smooth, and eyes sparkle with natural catchlights.
Product Photography
A large rectangular softbox overhead creates a clean, shadowless image. Perfect for e-commerce.
YouTube & Content Creation
Creators often use two softboxes at 45° angles for balanced, professional lighting.
Common Mistakes When Using a Softbox
Placing it too far: Light becomes harsh.
Using only one angle: Experiment with positions.
Ignoring background shadows: Move the softbox to control shadows.
Overexposing the subject: Always check exposure levels.
Pro Tips for Perfect Softbox Lighting
Feather the light: Aim the softbox slightly off-subject for softer results.
Use a reflector: Fill in shadows with a reflector opposite the softbox.
Mix with natural light: Position the softbox near a window for a natural blend.
Experiment with gels: Add color gels inside the softbox for creative looks.
People Also Ask (FAQ)
1. What is the best way to use a softbox for portraits?
Place the softbox at a 45° angle, close to the subject, for soft, flattering light.
2. How close should a softbox be to the subject?
Keep it about 2–4 feet away. Closer means softer light; farther gives more contrast.
3. Can I use a softbox with natural light?
Yes. Position the softbox near a window to blend natural and artificial light.
4. Is a softbox better than a ring light?
For portraits and professional photos, a softbox is more versatile and natural-looking than a ring light.
5. What size softbox is best for beginners?
A medium softbox (24–36 inches) is the most versatile for portraits and general use.
6. Do I need two softboxes or one is enough?
One softbox can work, but two create balanced, professional lighting with fewer shadows.
7. Can I use a softbox with LED lights?
Absolutely. Softboxes work with LED, strobe, or continuous lights.
Final Thoughts
Learning how to use a softbox for perfect lighting in photography is one of the smartest investments a beginner can make.
The truth is, cameras and lenses only capture what light allows. A softbox gives you control over that light—softening, shaping, and elevating your photos from ordinary to breathtaking.
From personal experience, many photographers have seen their work transform the moment they mastered softbox lighting. Instead of fighting with harsh shadows or flat images, they finally felt in control of every frame.
So whether you’re shooting a portrait, filming a YouTube video, or setting up your online shop, remember: perfect lighting starts with the right softbox setup.
Leave a Comment