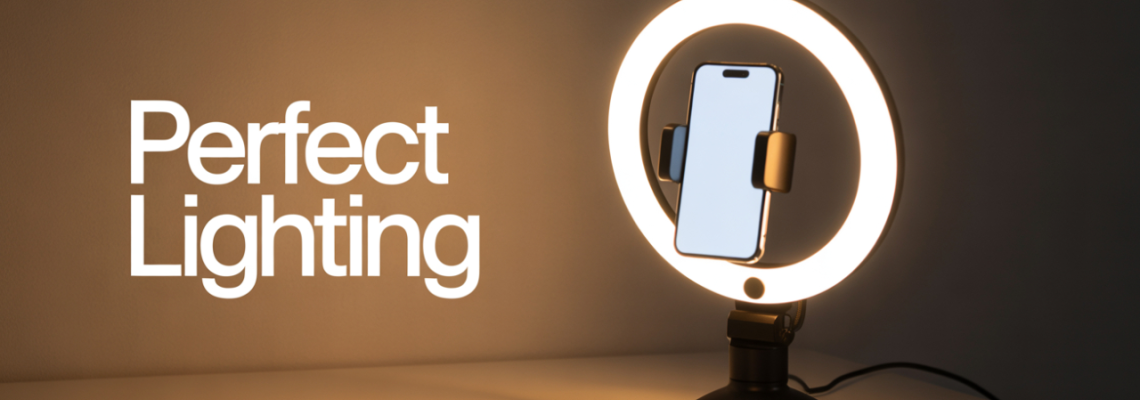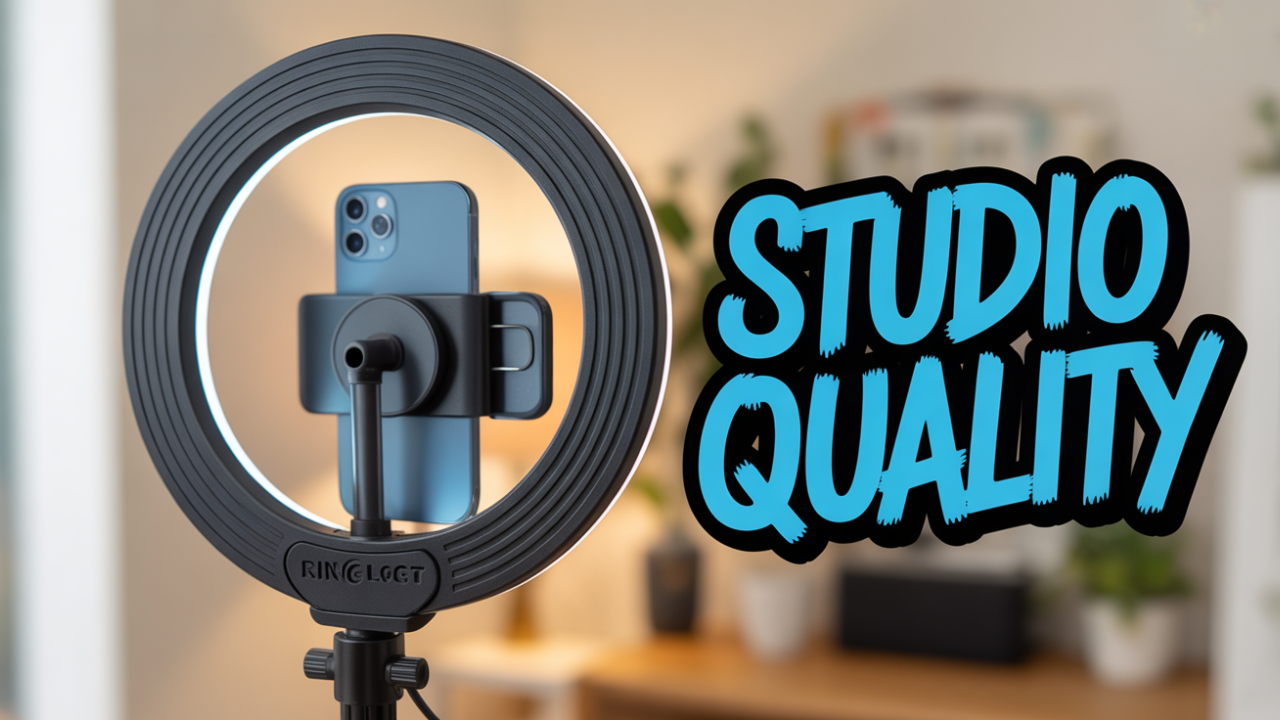
 When someone searches how to setup ring light with phone holder, they want clarity, visuals, and confidence. In this guide from Geonline, one learns ring light setup guide for beginners through every step — from stand assembly to mounting a mobile, adjusting angle, and dialing in brightness.
By the end, the reader can confidently do ring light setup for YouTube videos, makeup, TikTok, Instagram, live streams, and mobile photography.
Why a Ring Light + Phone Holder Is Essential
Using a ring light with a phone holder offers these major benefits:
Even, flattering illumination (soft shadows, smooth light on face)
Hands-free filming with your mobile exact center in the ring
Consistent lighting control, important for beauty, tutorials, or vlogs
Portability and flexibility — you can reposition the ring light easily
From personal experience, integrating a ring light + phone setup transformed behind-the-scenes chaos into polished, professional videos — especially for tutorials and short social clips.
What You’ll Need Before Setup
Before diving into installation, assemble all necessary components:
Ring light unit (LED or dimmable)
Tripod or stand, ideally adjustable height
Phone holder / clamp compatible with ring light
Power source (USB cable, adapter, or AC)
Mounting screws/adaptors (if included)
Optional accessories: extension arms, cold shoe mounts
Make sure your phone holder’s thread matches the ring light mount (often 1/4-inch). If not, you'll need a small adapter.
Step-by-Step Ring Light Installation
Here’s a structured path to step-by-step ring light installation:
1. Assemble the tripod or stand
Spread the tripod legs fully and lock them, ensuring stability.
Adjust the central pole to a comfortable height (usually eye or chest level).
Tighten all joints so nothing wobbles.
2. Mount the ring light
Locate the threaded receiver on the bottom of your ring light.
Place it atop the stand’s mounting screw, then twist gently until snug.
Use any additional locking nut or plate if included, to prevent spinning.
3. Attach the phone holder
There are several strategies:
Inside the ring: Some ring lights come with an inner adjustable phone cradle.
On a cross bar or top mount: Screw a small extension bar through the ring’s center hole and mount the phone clamp.
Side arm attachment: Use a flexible or ball-joint arm fixed to the ring’s outer mount.
Tighten securely so the phone doesn’t slip.
4. Insert your phone
Slide your phone into the clamp; center it vertically or horizontally as needed.
Check alignment: the camera lens should aim through the ring’s center opening, not be obstructed.
5. Connect power
Plug your power cable (USB, DC adapter, etc.) into the ring light.
Plug the other end into a powered USB port, wall adapter, or battery pack.
Turn it on and test functionality.
6. Adjust brightness and color
Use the ring light’s control dial, buttons, or remote to adjust brightness.
Some models allow color temperature shifts between warm (yellowish) and cool (bluish).
Fine-tune brightness so your subject is illuminated but not blown out.
7. Adjust angle and height
Tilt the ring light slightly downward (about 5–15°) for flattering light.
Raise or lower the stand to ensure the face is nearly centered in the ring.
Make small movements for best results; drastic shifts might cast weird shadows.
How to Use Ring Light with Mobile Phone
When creating mobile content, you’ll want these best practices:
Use the phone’s rear camera (better quality) pointed through the ring’s center.
Avoid using the front selfie camera unless absolutely necessary.
Enable gridlines on your phone to center your face or subject in the frame.
Lock exposure and focus if your phone supports it (to avoid fluctuations).
Position slightly farther back so your face gets full ring lighting coverage.
Best Ring Light with Phone Holder for Videos
While Geonline doesn’t endorse brands here, ideal features to look for include:
Strong brightness range (0% to 100%)
Adjustable color temperature (e.g., 2700 K to 6500 K)
A phone holder with strong grip and adjustable angle
Stable, robust tripod or stand
Durable build with standard mounting threads
These features work especially for best ring light with phone holder for videos, where consistency, flexibility, and durability matter.
How to Mount Phone on Ring Light Stand
Mounting a phone securely is critical. Consider:
Type of clamp: spring-loaded clamps or screw-tightening ones
Rotation ability: 90° or 180° swivel for portrait vs landscape
Extendable arms or gooseneck arms for more flexible positioning
Shock absorption cushions to protect your phone from slipping
Test the fit before full setup to ensure no pinch damage or instability.
Ring Light Setup for YouTube Videos
When filming for YouTube:
Set the ring slightly above eye level and angled down.
Maintain your face in the center of the ring.
Leave ~2–3 ft of subject distance to avoid overly harsh light.
Use fill lights or background lights to avoid flatness.
Record at a higher brightness, then tone it down in post if needed.
How to Connect Ring Light to Tripod
Many ring light kits come with built-in tripod connectors:
Unfold and stabilize tripod legs
Extend the center column or spread as needed
Screw the bottom of the ring light into the tripod’s 1/4-inch screw
Use any locking collar to keep it steady
Adjust closer or farther to find ideal height
If your ring light doesn't have a direct screw interface, use adapters (e.g. 1/4-inch to 5/8-inch spigot) or a ball head mount.
Ring Light Setup for Makeup Tutorials
Makeup creators benefit greatly from ring lighting:
Place the ring close enough to the face to capture detail
Use neutral or slightly warm color temperature
Angle downward so eye sockets don’t cast shadows
For multi-angle shots, use two smaller rings or a fill panel
Use high CRI LED lights (CRI ≥ 90) to preserve true color
This setup ensures true-to-life colors during close-up work.
How to Adjust Ring Light Brightness and Angle
Start at mid-level brightness and test your exposure
Slowly increase until the subject is well lit, then back off if any hot spots appear
Use dimming controls in ~5–10% increments
For angle, begin with a gentle 5° tilt down, then shift ± a few degrees
Lock tilt and pivot firmly after choosing best position
Test from various parts of the frame (top, bottom, sides) to ensure even lighting.
Phone Holder Attachment for Ring Light
Here are a few approaches:
Integrated ring phone holder: built into ring’s center
Detachable phone clamp with screw mount
Flexible gooseneck arm with a clamp at the end
Cold-shoe / ball-joint adapter fitting into a side port
Select the one that gives secure hold and flexibility without interfering with the light.
Ring Light Setup for TikTok and Instagram
For short-form phone content:
Use vertical (portrait) orientation
Mount phone in vertical mode in the center of ring
Place the ring light close and bright for crisp shots
Use minimal background distractions
Sync ring light settings (brightness, color) across clips
Consider motion (e.g., rotate or tilt slowly) — ring gives smooth, flattering illumination
This setup ensures clean, high-quality vertical videos for Reels, TikToks, and Shorts.
How to Use Ring Light for Photography
Even for still photography:
Use the ring as a key light or soft fill
Position subject slightly in front of the ring to let light wrap
In macro or portrait photography, use low power settings to avoid overexposure
Use diffusion (e.g., diffuser cloth) if needed to soften light
Combine with ambient or backlight for dimensional effect
The ring light’s circular catchlight is often desirable in eyes.
Tips for Perfect Lighting with Ring Light
Here are practical pointers:
Maintain equal distance between subject and ring
Use light modifiers (diffusers, softboxes) to soften output
Avoid putting light directly behind the subject
Use black flags or reflectors to control spill
Test lighting from multiple angles
Use white balance presets on your phone or camera
Keep background brightness lower than your key light
These tips help you make the setup usable across genres — makeup, portrait, unboxing, live streaming.
Ring Light Setup for Live Streaming
Live streaming demands reliability:
Use continuous-on mode (no flicker)
Test brightness and color temperature before going live
Mount camera/phone firmly (no drift)
Use backup power (e.g. battery bank) to avoid outages
Monitor for overheating — avoid full brightness for long streams
Keep a small distance so subject doesn’t overheat
With this setup, lighting remains consistent even during long sessions.
Ring Light Stand Assembly Instructions
Follow these steps:
Unbox all parts and lay them out
Identify tripod base, center pole, and locking collars
Attach tripod legs, spread out fully, and lock angle
Insert center pole segments and lock in place (often twist or flip levers)
Mount ring light on top screw
Attach phone holder and secure it
Plug in the cable and test electronics
Adjust tilt, height, and brightness
Always recheck tightness after first few uses.
Real-World Example: From Bulky Setup to Quick Videos
When Geonline’s content team first added ring lights, they had to reassemble for every shoot. With the above method, they cut setup time from 20 minutes to under 5. The phone was mounted once, locked, and stayed in place. The lighting moved from harsh portrait lighting to pleasing, soft, professional videos.
Because they used high-CRI LEDs and locked exposure on the phone, the color consistency across multiple shoots improved dramatically.
People Also Ask (FAQs)
Q: How do you setup a ring light with a phone?
A: Mount the ring light on a tripod, attach a phone clamp to the center, insert the phone, connect power, adjust brightness and angle, then lock settings.
Q: Can you use a ring light with your mobile camera?
A: Yes — attach the phone in the ring’s center mounting point and use the rear camera for best results.
Q: What is the ideal brightness for ring lighting?
A: Start around 50–70% brightness, then adjust based on skin tone, distance, and scene. Use minimal brightness needed to avoid glare.
Q: How far should the ring light be from your face?
A: Usually 2 to 3 feet (60–90 cm) gives good wrap light. Closer can cause hotspots; farther may lose detail.
Q: Do I need a diffuser for ring light?
A: A diffuser or soft panel helps soften harsh light and reduce contrast, especially for close-ups.
Q: How to mount a phone vertically in a ring light?
A: Use a clamp or swivel adapter to rotate the phone holder 90° within the center of the ring.
Q: Can I connect a ring light to a regular camera instead of phone?
A: Yes — many ring lights have 1/4-inch threads to mount DSLRs, mirrorless cameras, or webcams.
Final Thoughts
Learning how to setup ring light with phone holder transforms content creation. From casual tutorials to pro live streams, a properly installed ring light gives polished, flattering lighting — and reduces frustration behind the scenes.
In the journey with Geonline, the team realized that once the setup is intuitive and stable, creativity flows. There’s no more adjusting mid-shoot or wrestling with shadows. The setup becomes invisible, and the story comes forward.


Leave a Comment