

")
 Capturing stunning video with your DSLR is only half the story. Without clear audio, even the most beautiful footage can feel flat and unprofessional. The good news is that learning how to connect a microphone to DSLR is easier than many beginners think. In this guide from Geonline, you’ll learn everything—from choosing the right external mic for DSLR cameras to setting up audio monitoring and reducing ambient noise.
Why You Need an External Microphone for DSLR
DSLR cameras are excellent for video, but their built-in microphones are often weak, noisy, and prone to capturing unwanted background sounds. Using an external mic for DSLR allows creators to capture professional-quality audio without expensive studio equipment.
Key Benefits of an External Microphone
Improved sound clarity compared to built-in camera mics
Directional recording using shotgun or cardioid polar patterns
Reduced ambient noise in busy or outdoor environments
More flexibility with microphone positioning and mounts
Types of Microphones for DSLR
Choosing the right microphone depends on your shooting style. Here are the most common options:
1. Lavalier Microphone
Also known as a lapel mic
Small, discreet, and great for interviews or vlogging
Example: LensGo LYM DM1
Typically connects via 3.5mm audio cable
2. Shotgun Microphone
Ideal for outdoor shoots, filmmaking, or YouTube content
Mounts on the DSLR’s hot shoe mount
Example: BOYA BY-MM1
Uses cardioid polar pattern for focused sound pickup
3. Handheld Microphone
Popular for live events or on-the-go interviews
Can be wired or wireless
Best for situations where the subject speaks directly into the mic
Step-by-Step: How to Connect Microphone to DSLR
Connecting a microphone to your DSLR is simple if you follow these steps:
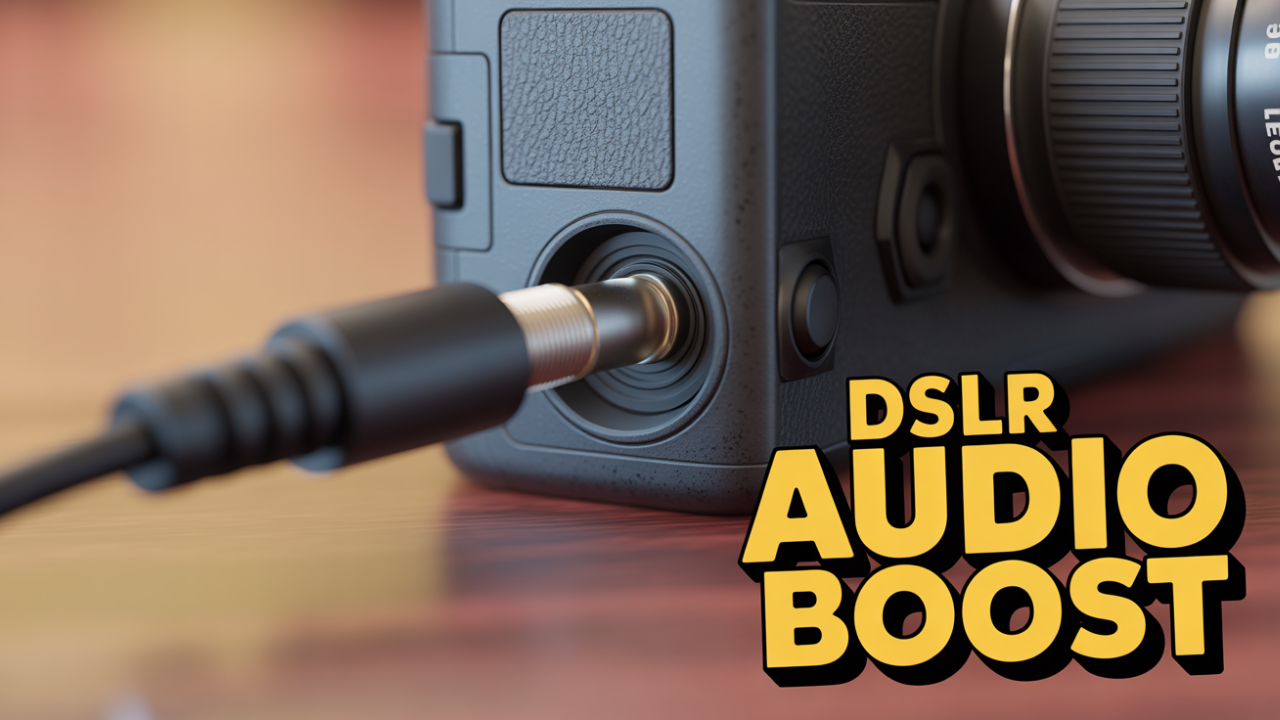
Step 1: Check Camera Inputs
Most modern DSLRs have a 3.5mm audio input jack. Ensure your camera supports external audio.
Step 2: Mount the Microphone
For shotgun mics: attach using the hot shoe mount and anti-shock mount
For lavalier mics: clip the mic to clothing
For handheld mics: hold or place on a stand
Step 3: Plug in the Audio Cable
Connect the 3.5mm audio cable from the microphone to the DSLR’s input port
Some professional mics may require XLR adapters
Step 4: Adjust Camera Audio Settings
Go to your camera’s audio settings
Turn off auto gain control (AGC)
Set manual levels to avoid distortion
Step 5: Test and Monitor
Use audio monitoring via headphones (if your DSLR supports it)
Speak at normal volume and check for clear sound
Optimizing Audio Quality
Connecting the mic is only half the job. For professional audio, you need to fine-tune settings.
Tips for Clear Sound
Use windshields or pop filters for outdoor shoots
Position the mic close to the subject’s mouth
Reduce ambient noise by choosing quieter locations
Experiment with different mic polar patterns for best results
Real-World Examples
A vlogger uses the BOYA BY-MM1 shotgun microphone mounted on their DSLR to capture crisp dialogue outdoors, while the anti-shock mount reduces handling noise.
A podcaster records with the LensGo LYM DM1 lavalier microphone, connected via 3.5mm cable, ensuring hands-free comfort during long sessions.
People Also Ask (FAQs)
Q1: What is the best external mic for DSLR?
A: The BOYA BY-MM1 is a popular budget-friendly shotgun mic, while the LensGo LYM DM1 is great for lavalier needs.
Q2: How do I connect a lavalier microphone to DSLR?
A: Plug the lavalier’s 3.5mm audio cable into the DSLR’s mic port, clip the mic, and adjust audio settings manually.
Q3: Do all DSLRs support external microphones?
A: No, only DSLRs with a 3.5mm mic input allow external connections. Check your camera model before buying.
Q4: How can I monitor audio while recording?
A: Some DSLRs offer a headphone jack for audio monitoring. If not, use an external audio recorder.
Q5: How do I reduce ambient noise in DSLR audio?
A: Use a shotgun mic with a windshield, position the mic closer, and disable AGC in camera settings.
Q6: What mic polar pattern is best for DSLR recording?
A: Cardioid polar patterns work well for isolating the subject’s voice while minimizing background sounds.
Q7: Can I use a wireless mic with my DSLR?
A: Yes, wireless lavalier and handheld microphones can connect via receiver units plugged into the DSLR
Final Thoughts
Connecting a microphone to a DSLR is one of the most important steps toward achieving professional-quality video. Whether you use a lavalier microphone for interviews, a shot gun microphone for filmmaking, or a handheld microphone for live events, the right setup can transform your content. From personal experience shared on Geonline, creators often notice an immediate boost in audience engagement once audio quality improves.
Clear visuals bring people in, but clear audio keeps them watching. By following the steps in this guide—adjusting camera audio settings, using proper microphone positioning, and reducing ambient noise—you’ll set yourself apart in 2025’s competitive content space.
Leave a Comment